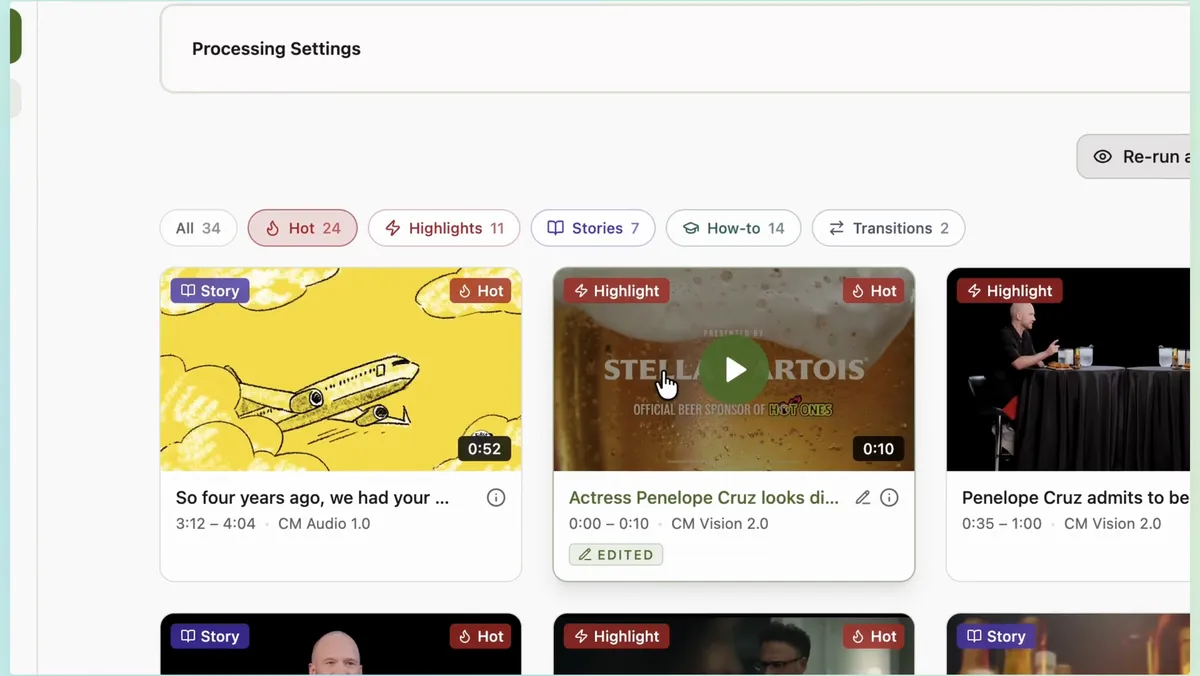
AI Smart Crop: Turning Horizontal Video Into Vertical Without Losing the Subject
You filmed in 16:9. Your audience watches in 9:16. Somewhere between those two numbers, most of your frame disappears — and if you handle that crop badly, your subject disappears with it. Faces sliced in half, speakers drifting out of frame, a second guest who simply does not exist in the vertical version.
This guide covers what actually happens when horizontal video becomes vertical, why the naive approaches fail, and how AI subject tracking and speaker-aware layouts solve the problem without manual keyframing.
The Crop Problem, By the Numbers
A 9:16 vertical crop keeps roughly one third of a 16:9 frame. Two thirds of every shot you filmed is gone. The entire question of vertical repurposing is: which third do you keep? That answer changes from second to second, because subjects move, cameras pan, and conversations bounce between people.
There are three ways to answer it:
- Center crop — keep the middle, hope for the best. Works only when the subject sits dead center and never moves. Interviews, walking shots, and anything with two people break it immediately.
- Manual keyframing — an editor animates the crop window by hand. Looks great, costs 15–30 minutes per clip. Multiply by ten clips a week and it stops being a workflow and becomes a job.
- AI subject tracking — the crop window follows the subject automatically, reframing shot by shot. This is the only approach that scales without sacrificing quality.
How AI Subject Tracking Actually Works
Modern smart crop is a vision problem, not a guessing problem. The AI watches the footage and answers two questions continuously: where is the subject of attention, and how should the camera move to keep them framed?
Step 1: Find the Focal Point
A vision model analyzes each scene and locates what matters — usually the active speaker's face, sometimes an object being demonstrated or an action in progress. Crucially, this is per-scene: a cut from a talking head to a product close-up moves the focal point, and the crop follows.
Step 2: Plan the Camera Path
Raw tracking data is jittery — a crop window glued rigidly to a face produces seasick footage. Good smart crop smooths the tracked positions into a deliberate camera path, the way a human operator would: hold steady while the subject is roughly in place, glide when they genuinely move, snap instantly on hard scene changes.
In ClipMaster's Focus layout the crop holds still while the speaker stays roughly in place, eases to the new position only when they really move, and snaps on camera cuts. The result reads as intentional camerawork, not as software chasing a bounding box.

The Two-Speaker Problem — and the Stacked Layout
Interviews and podcasts add a harder version of the problem: two people, wide shot, one vertical frame. Any single crop window must either pick one person (losing the other's reactions) or zoom out so far that both are tiny.
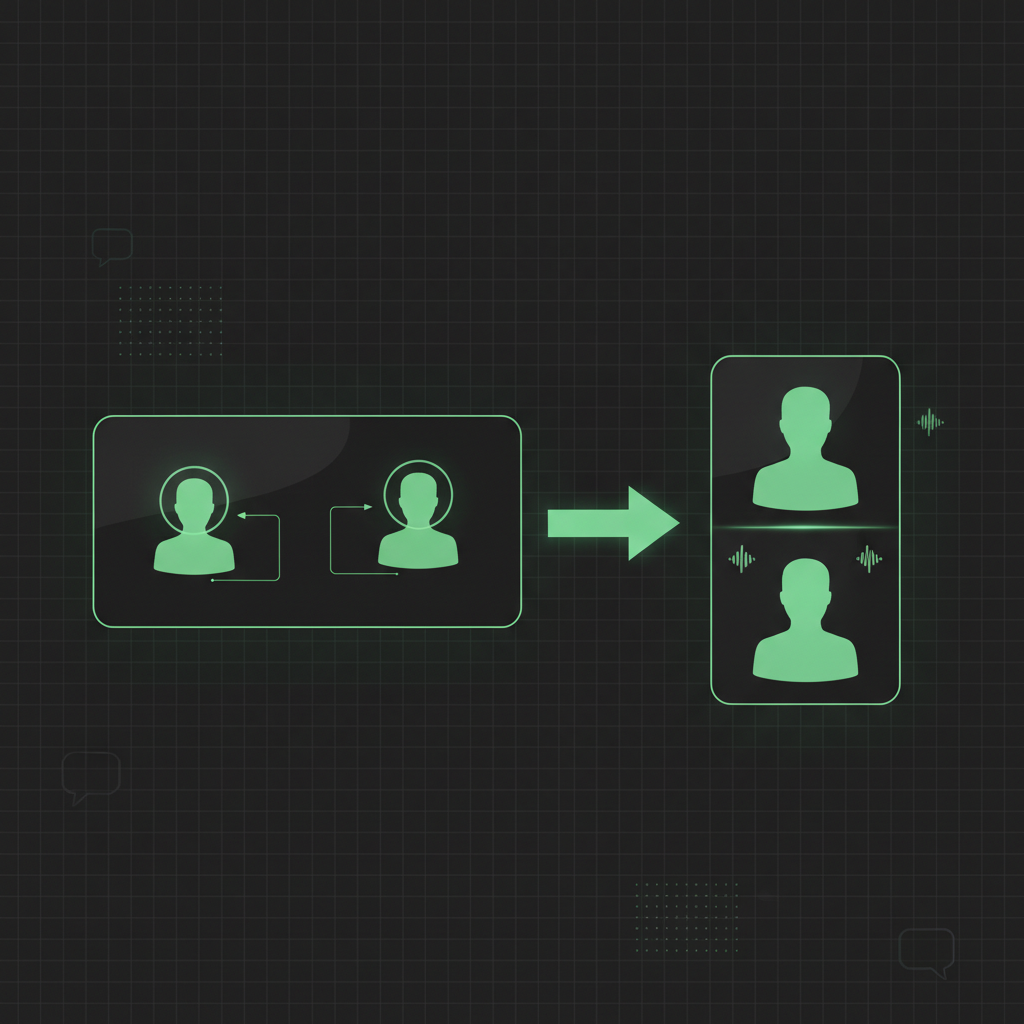
The answer the biggest podcast clips channels converged on is the stacked layout: split the vertical frame into two horizontal bands, one speaker per band. Both faces stay large and readable, reactions stay in frame, and the format instantly signals "conversation" to viewers scrolling past.
ClipMaster builds this automatically. Press Analyze layout on a clip and it picks a layout for every shot: one-speaker moments get Focus, two-speaker moments switch to Split — with each band framed on its own speaker — and groups and video calls get Three, a 2×2 Grid or Spotlight (the active speaker big on top). You do not draw boxes or assign regions; the layout follows the conversation.
Layouts for Old Clips Too
Layout analysis runs per clip, only when you ask for it. Maybe one clip from an old project took off and deserves a proper vertical edit: open it in the ClipMaster editor (as long as it still plays there) and press Analyze layout — no re-upload. Then keep Auto or switch the whole clip to any layout that fits it.
Practical Rules for Better Vertical Crops
- Film with the crop in mind. Keep subjects in the middle horizontal third when you can. Even the best tracking benefits from footage where the answer is easy.
- Let the tracking handle motion, not composition. If a segment's whole point is a wide visual — a whiteboard, a stage, a landscape — consider whether it belongs in a vertical clip at all.
- Check faces at caption height. Captions live in the lower third of vertical video. Smart crop keeps faces out of that zone; if you position captions manually, preview a scene where the speaker gestures before exporting.
- Use stacked layouts for genuine dialogue. If one person talks for 90% of the clip, a tracked single crop with occasional cutaways usually beats a permanent split.
The difference between amateur and professional vertical clips is rarely the content — it is whether the frame respects the viewer. Faces centered, movement smooth, both speakers visible. Get the reframe right and the same footage suddenly looks produced.
Horizontal Library, Vertical Output
Every hour of 16:9 footage you already own is vertical content waiting to be reframed. Upload a video to ClipMaster, press Analyze layout on a clip, and the AI finds the moments, gives every shot its vertical layout, and renders publish-ready 9:16 clips — no keyframes, no manual crops, no guessing which third of the frame to keep.